DIY Flooring Installation Tips for Spanish Fork Residents
Preparing for Your DIY Flooring Project
Considering a DIY flooring installation in your Spanish Fork home? With the right preparation and tools, you can achieve professional results. Start by choosing the right type of flooring for your space, whether it’s hardwood, laminate, or tile. Consider factors such as durability, style, and budget.
Before starting, ensure you have all necessary tools. This might include a tape measure, saw, adhesive, spacers, and a level. Having everything on hand will make the process smoother and more efficient.
Properly Measuring Your Space
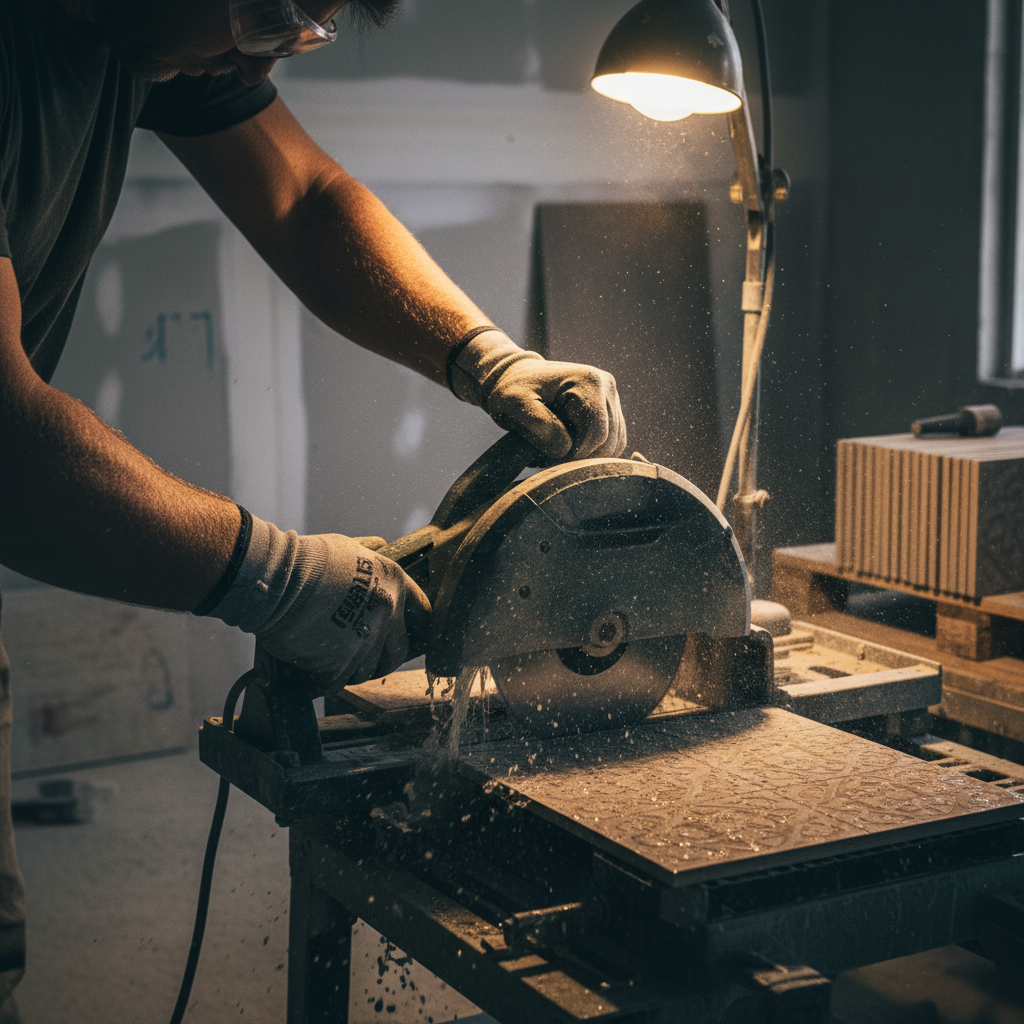
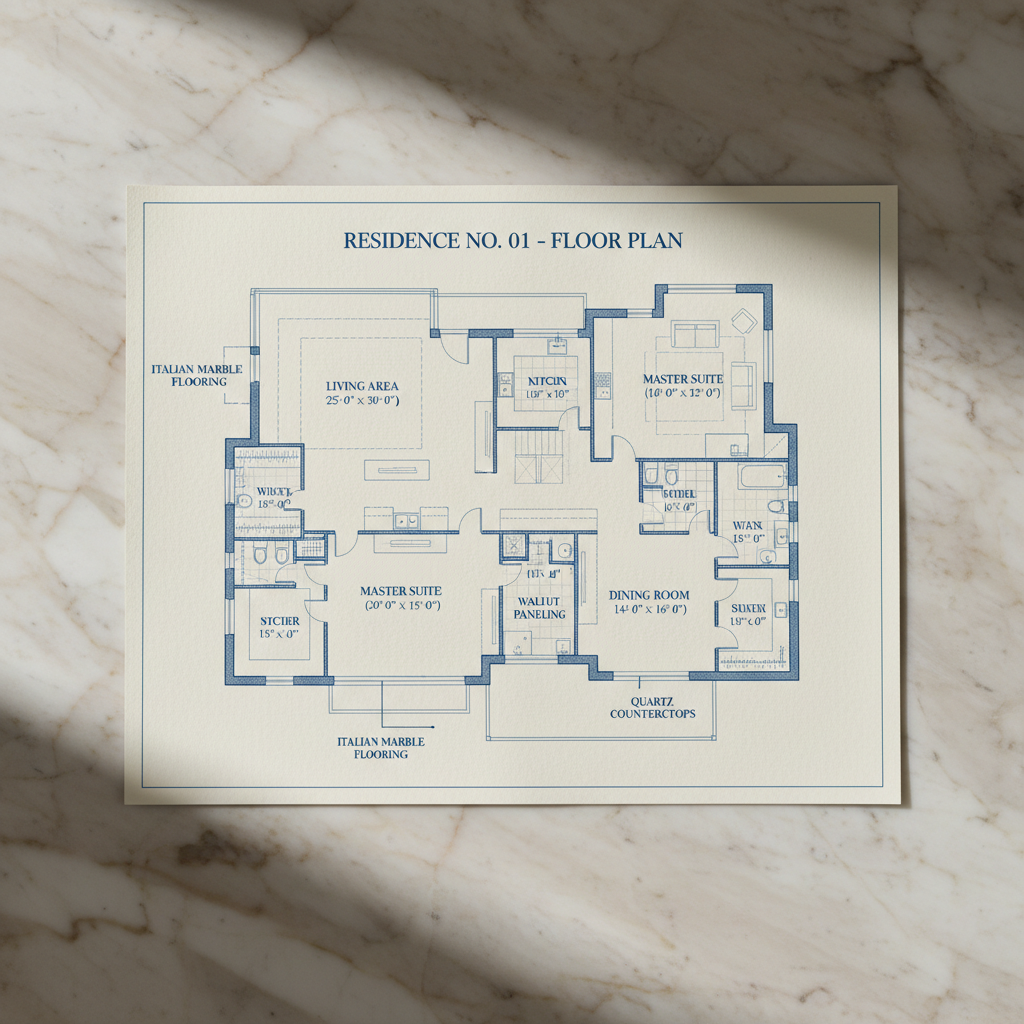
Accurate measurements are crucial for a successful flooring installation. Begin by measuring the length and width of the room. Multiply these numbers to get the area in square feet. Always purchase extra material to account for mistakes or future repairs.
Remember to account for doorways, closets, and other architectural features. Creating a detailed sketch of your space can help visualize the layout and ensure you have enough materials.
Preparing the Subfloor
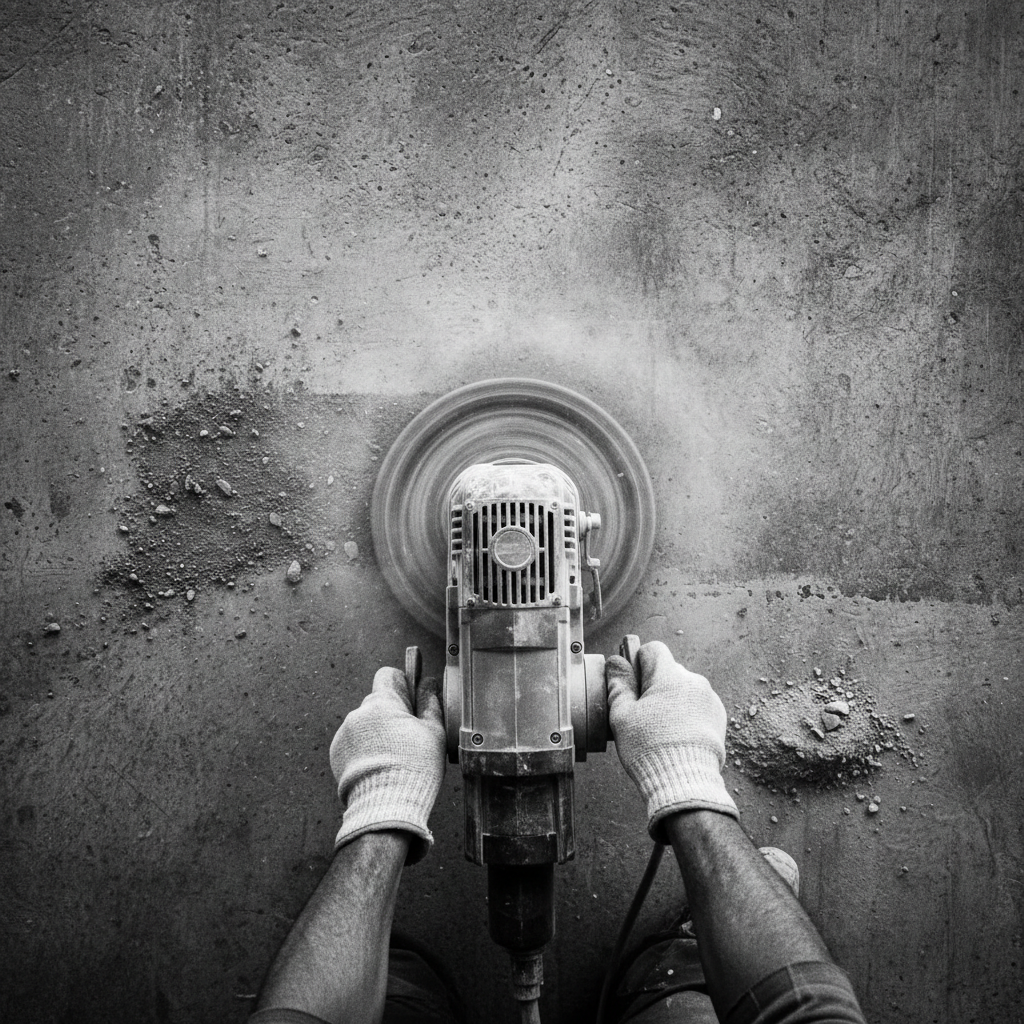
Preparing your subfloor is an essential step that shouldn’t be overlooked. Ensure the subfloor is clean, dry, and level. Remove any old flooring materials, nails, or debris. If your subfloor is uneven, consider using a leveling compound.
Proper subfloor preparation ensures your new flooring will lay flat and wear evenly over time. It also helps prevent issues like squeaking or shifting in the future.
Installing Your New Flooring
Once your subfloor is ready, it’s time to start installing your new flooring. Begin in the corner of the room and work your way out. For hardwood or laminate, use spacers to maintain an expansion gap around the perimeter.
For tile installations, plan your layout before applying adhesive. Use a chalk line to ensure your tiles are straight and evenly spaced. Work in small sections to prevent the adhesive from drying out.
Finishing Touches
After installing your flooring, add the finishing touches. Remove spacers and install baseboards or molding to cover any expansion gaps. For tile, apply grout between tiles and seal the grout to protect against moisture.
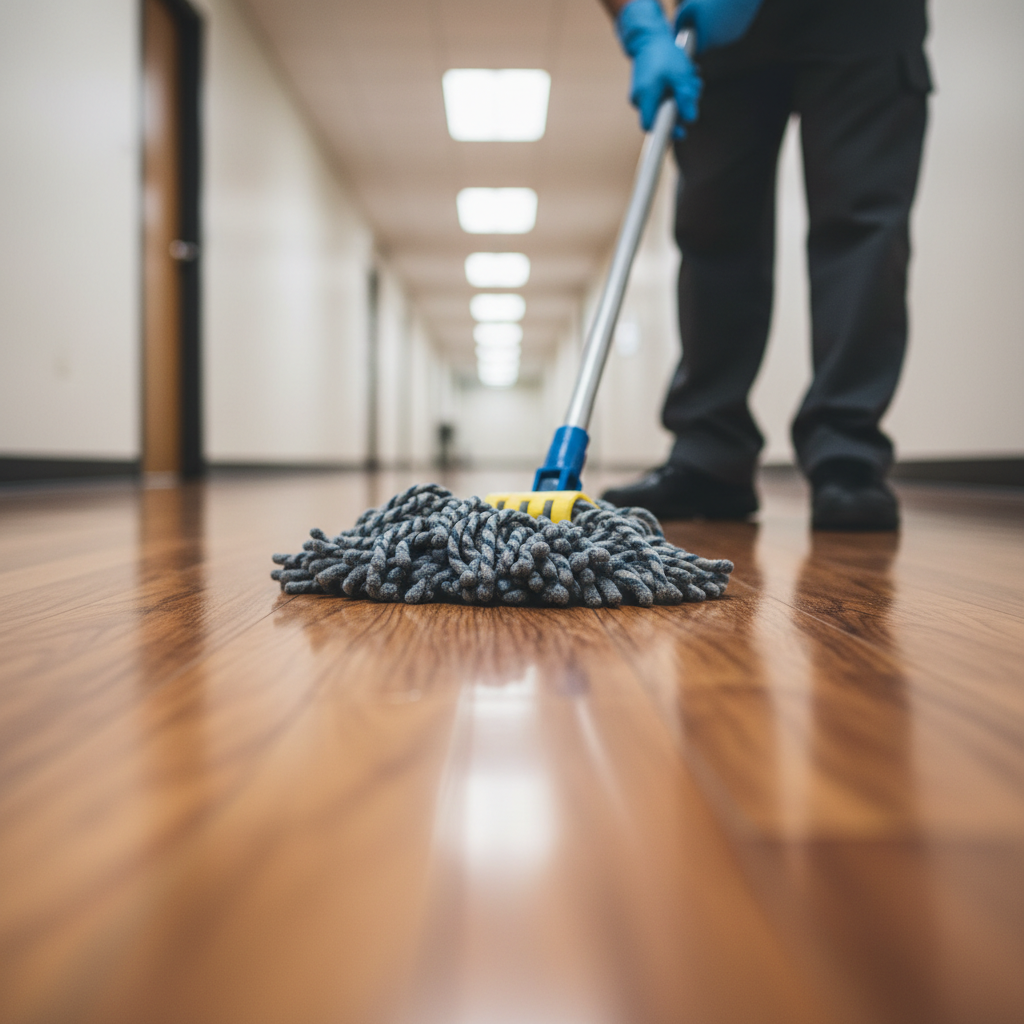
Finally, clean your new floor according to the manufacturer’s instructions. This helps to preserve the material and maintain its appearance for years to come.
Maintaining Your New Floors
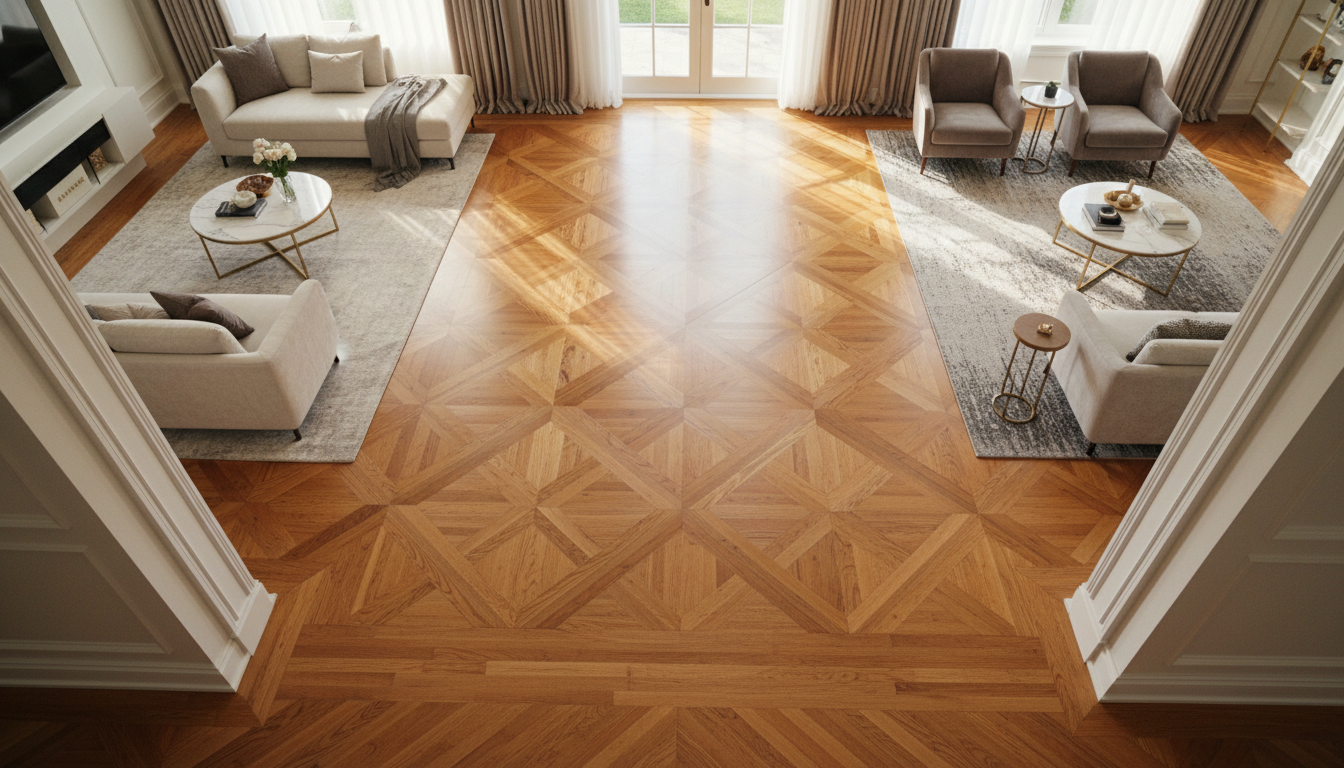
Proper maintenance is key to ensuring the longevity of your new floors. Regular cleaning can prevent scratches and wear. Use floor protectors under furniture and rugs in high-traffic areas to minimize damage.
For hardwood floors, consider periodic refinishing to restore their luster. Tile floors may require resealing every few years to maintain their appearance and durability.
Conclusion
DIY flooring installation can be a rewarding project that adds value and beauty to your home. By carefully preparing and following these tips, Spanish Fork residents can achieve a professional look without the professional price tag.
Whether you're installing hardwood, laminate, or tile, the key is in the details. Take the time to plan, prepare, and execute each step carefully for the best results.